Can You Paint Over Wood Filler? (How-To Guide)
So, you’ve got a wood project with some cracks, dents, or holes, and you’ve filled them with wood filler. Nice work! But now you’re staring at it, wondering, “Can I just paint over this stuff?”
The answer is yes – you CAN totally paint over wood filler!
But (and there’s always a but), there’s a right way to do it. If you skip the prep work, you might end up with a finish that looks… well, let’s just say less than perfect.
But don’t worry, though, I’ve got your back.
In this post, I’ll show you how to paint over wood filler step by step. It’s easier than you think, and by the end, you’ll have a smooth, professional-looking finish.
How To Paint Over Wood Filler
Painting over wood filler isn’t rocket science, but it does require a little patience and some basic prep work. Follow these steps, and you’ll be golden:
Also Read: Can You Touch Up Eggshell Paint?
#1 Apply Wood Filler
First things first: you need to apply the wood filler.
If you’ve already done this, awesome -skip ahead.
When applying, don’t just glop it on willy-nilly. Use a putty knife to spread it evenly into the crack, hole, or dent. Make sure you press it in firmly so it fills the gap completely.
Don’t worry if it looks messy at this stage; we’ll clean it up later.
Pro tip: If you’re working on a large area, apply the filler in thin layers. Thick globs take forever to dry and can crack. Thin layers = happy drying.
#2 Allow Filler To Cure
Once the filler’s in place, resist the urge to rush to the next step.
I know it’s tempting to speed things up, but curing is crucial. Curing is different from drying—it’s when the filler hardens completely and becomes ready for sanding.
Most fillers will tell you how long they need to cure on the packaging. Usually, it’s anywhere from 30 minutes to a few hours, but some might take longer.
If you try to sand or paint too soon, you’ll end up with a smeary mess.
Save yourself the frustration and give the filler the time it needs.
Patience pays off big time here.
#3 Sand The Surface
Now comes the satisfying part: sanding.
Once the filler is fully cured, grab some fine-grit sandpaper (around 120-220 grit). Sand the filled area until it’s smooth and flush with the surrounding wood.
Be gentle -you don’t want to gouge the filler or the wood around it.
Sanding does two important things:
- It removes any excess filler that’s sticking out
- It creates a slightly rough surface that helps the primer and paint stick better.
Without this step, your paint might not adhere properly, and you could end up with peeling or bubbling later. Nobody wants that.
Also Read: Can You Paint Flat Over Eggshell?
#4 Clean The Area

Before you move on to priming, take a minute to clean the area.
Dust from sanding can ruin your paint job if it’s left behind. So use a damp cloth or tack cloth to wipe down the surface. Make sure you get into all the little crevices.
Let it dry completely before moving on to the next step.
This might seem like a small detail, but trust me—it makes a big difference.
A clean surface means your paint will go on smoothly and evenly. Plus, it’s one less thing to stress about later. Keep it simple, keep it clean.
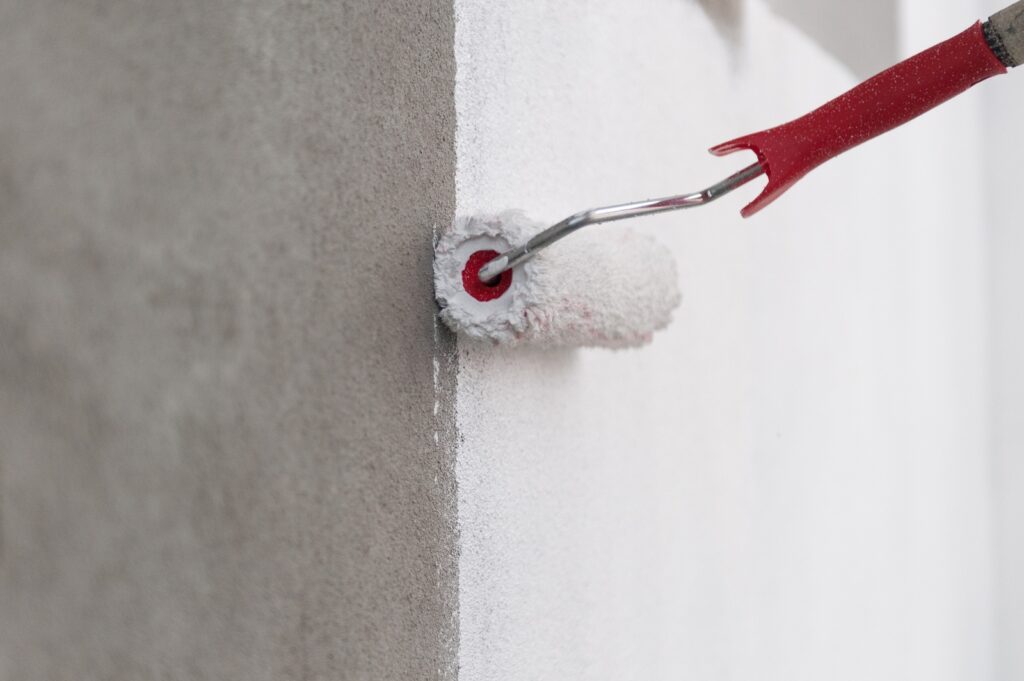
#5 Apply Primer
Here’s a step a lot of people skip, but trust me, you don’t want to.
Primer creates a smooth, even base for your paint and helps it stick better. Plus, it prevents the wood filler from soaking up all your paint, which can leave you with a blotchy finish.
Use a brush or roller to apply a thin, even coat of primer over the filled area and the surrounding wood. Let it dry completely (check the can for drying times).
If the filler still looks a little uneven after the first coat, you can sand it lightly and apply a second coat of primer.
Primer might feel like an extra step, but it’s the key to a flawless finish.
Also Read: Can You Tint Primer?
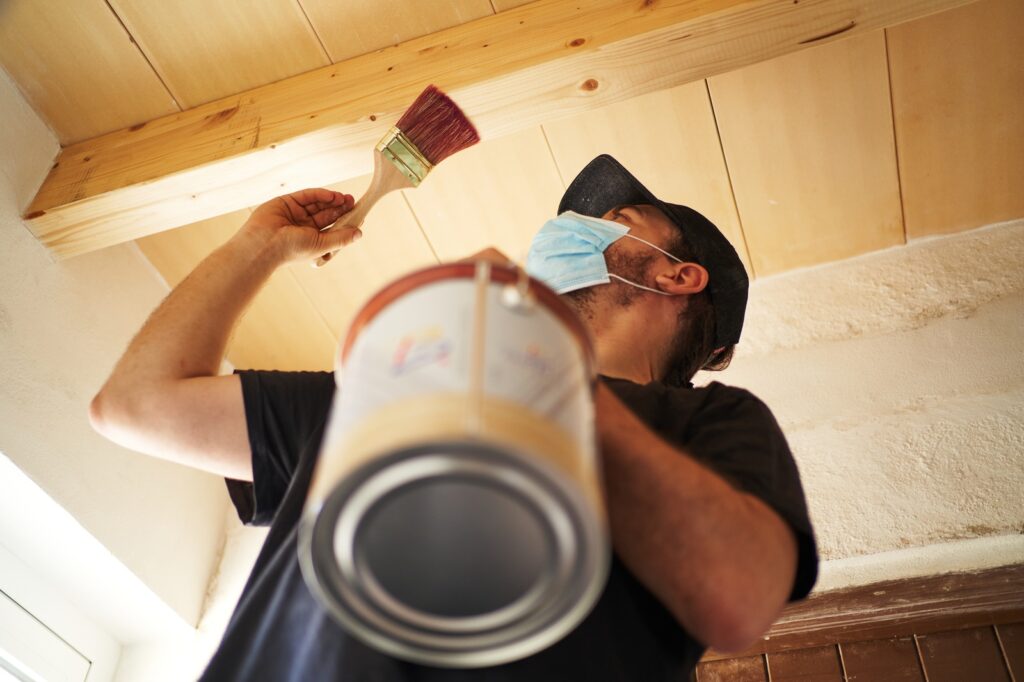
#6 Paint
Finally, the moment you’ve been waiting for: painting!
Use a brush, roller, or sprayer—whatever works best for your project. Apply the paint in thin, even coats. Thin coats are easier to control and dry faster, which means fewer drips and streaks.
Don’t worry if the first coat looks a little uneven. That’s totally normal.
The goal here is to build up layers gradually. Rushing this step will only lead to frustration. Take your time, and you’ll be rewarded with a beautiful finish.
And hey, if you mess up, you can always sand it down and start over.
#7 Dry Between Coats
Here’s another spot where patience pays off. Let each coat of paint dry completely before applying the next one. This might feel like it takes forever, but it’s worth it.
If you paint over a wet or tacky layer, you risk ruining the whole thing.
How long should you wait? Check the paint can for drying times, but a good rule of thumb is to wait at least a couple of hours between coats.
If you’re unsure, err on the side of caution. Better safe than sorry, right?
#8 Final Touches
Once your final coat of paint is dry, take a step back and admire your work.
Does the filled area blend seamlessly with the rest of the wood? If not, you might need to touch up a spot or two. A small brush is perfect for this kind of detail work.
And don’t forget to clean up your tools while the paint is still fresh. Trust me, dried paint is a nightmare to remove. Rinse brushes with soap and water (for latex paint) or use the appropriate solvent (for oil-based paint).
Cleaning up might not be the most exciting part of the project, but it’s essential if you want to keep your tools in good shape for next time.
Wrapping Up
Now you know everything you need to paint over wood filler like a pro!
The main things to remember are to take your time and follow each step carefully. Don’t rush it, and you’ll end up with results that look great. Your repairs will blend right in with the rest of the wood, and no one will even know they were there.
So, next time you’re staring at a crack or hole in your wood project, don’t stress. Grab some wood filler, follow these steps, and you’ll be good to go.