Author: Painter Ratings

Identifying Paint Finish on Existing Walls

Identifying paint finishes on existing walls can be a tricky business, but with the right knowledge and techniques, it’s a breeze. From glossy to matte, each finish has unique characteristics that you can learn to discern.

Now, wouldn’t you like to know how to tell the difference with just a glance? Stick around, there’s plenty more to explore.

Understanding Different Paint Finishes

Before diving into how to identify paint finishes on your walls, it’s important to understand the different types of paint finishes available and their unique characteristics. You see, paint finishes aren’t just about aesthetics. They’re also about functionality.

Consider finish durability. High-gloss and semi-gloss finishes are tough and durable. They resist stains and wear, making them perfect for high-traffic areas like kitchens and bathrooms. On the other hand, flat or matte finishes, while visually appealing, aren’t as durable. They’re best for low-traffic areas like bedrooms and ceilings.

Then, there’s colour reflection. Shiny finishes like high-gloss, semi-gloss, and satin reflect light, making your room appear brighter. They’re great for dimly lit rooms. In contrast, flat or matte finishes absorb light, reducing glare and softening colours.

Finally, think about maintenance methods. Glossy finishes are easy to clean. A quick wipe with a damp cloth usually does the trick. Matte finishes, however, require a little more effort. You may need to touch up stains or marks with paint.

Understanding these aspects will guide you in identifying the finish on your walls, setting you up for successful wall maintenance and future paint jobs.

Tools and Techniques for Identification

Armed with a little knowledge and the right tools, you can easily identify the finish on your walls. Detection difficulty may vary, but don’t let that deter you. Let’s delve into the tools and techniques you’ll need.

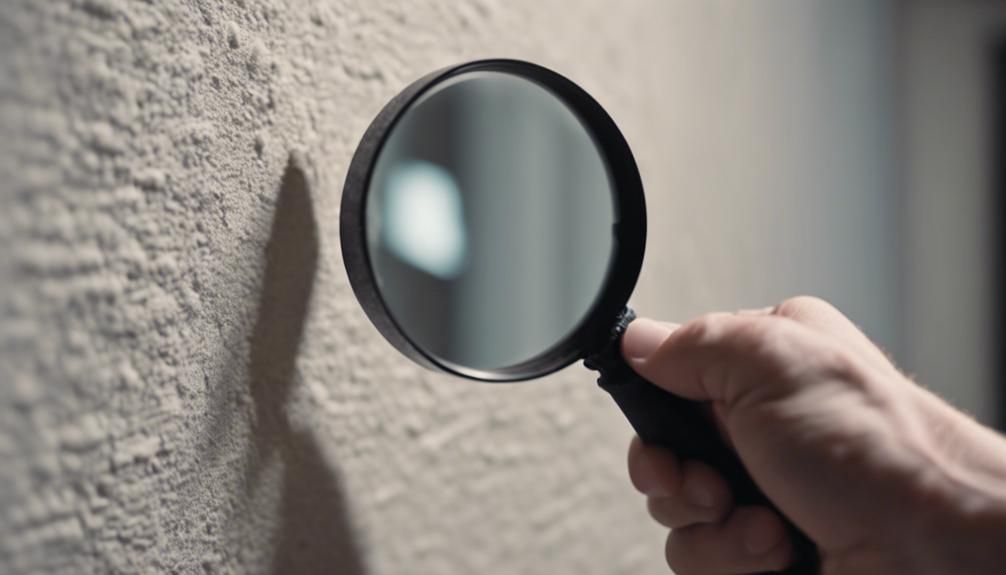
To start, invest in a good light source. Lighting is important in finish classification. Up close, different finishes will reflect light differently, enabling you to distinguish between them. A magnifying glass can also prove useful in examining the texture and sheen of the paint.

For a more accurate detection, you may also need to do some surface preparation. Wipe the wall with a damp cloth to remove dust and let it dry. This step will make sure that you’re not mistaking accumulated grime for a certain finish.

Practical Tips for Paint Finish Detection

When it comes to detecting the finish of your existing wall paint, a few practical tips can make the process much easier and more accurate. First, consider the finish’s durability. A high-gloss finish is more durable, so if your wall shows signs of wear and tear, it’s likely not high-gloss.

Next, consider color variations. If the color looks different under different lighting conditions, it’s probably a satin or eggshell finish, which reflects light differently than flatter finishes.

Surface preparation is another key factor. If the wall wasn’t properly prepared before painting, the finish may appear uneven or patchy. For example, if there’s a glossy spot in an otherwise matte wall, that’s a clue that the wall wasn’t sufficiently sanded before painting.

Remember, it’s also important to clean the wall before testing the finish. Dust or dirt can distort the color and finish, leading to inaccurate results.

Lastly, don’t rely solely on visual cues. Feel the wall. If it’s smooth to the touch, it’s probably a higher-gloss finish. If it feels slightly rough or bumpy, it’s likely a flat or matte finish. By using these practical tips, you’ll be able to accurately identify your wall’s paint finish.
Remove Grease Stains From Kitchen Walls

Even if your kitchen is as clean as a whistle, grease stains on your painted walls can be a sore sight. You’re likely keen to figure out how to get rid of these unsightly blemishes, and I’m here to help.

Let’s break it down to a science – what tools you’ll need, what steps to follow, and how to keep your walls pristine moving forward. Ready to turn that greasy nightmare into a distant memory? Let’s get started, but remember, it’s not just about cleaning, it’s about understanding the why behind the process.

Identifying the Grease Stain

Before you begin the cleaning process, it’s important to correctly identify the grease stain on your painted kitchen walls. Stain origins can be diverse, ranging from cooking splatters to fingerprints, so it’s useful to know what caused the stain to better tailor your cleaning approach.

Understanding the grease composition is key. It could be from food, other cleaners, or even certain cosmetics. Each type of grease has different properties. Some are easier to remove than others, and specific cleaning techniques may work better on certain types.

Lastly, consider the wall materials. Painted walls can be delicate, and the type of paint used can affect how you tackle the grease stain. Glossy paint, for example, is more resistant to stains than flat paint, and can usually withstand stronger cleaning solutions.

Necessary Cleaning Supplies

Having correctly identified the grease stain, you’ll need to gather some specific supplies to effectively remove it from your painted kitchen walls. Supply selection is important in this process, and you should be looking for items that are gentle on your walls but effective on stains.

Green products should be your go-to in this situation. They’re not only effective but also safer for you and the environment. Items such as a mild dish detergent, baking soda, and a microfiber cloth are all excellent choices. The detergent breaks down the grease, the baking soda acts as an important scrubbing agent, and the microfiber cloth is soft enough to avoid scratching your walls.

When it comes to cost efficiency, you’ll find these supplies are quite affordable. Most likely, you already have them in your home. If not, they’re readily available at your local grocery or home improvement store. Remember, you don’t need to spend a fortune to effectively remove grease stains from your painted kitchen walls. The key is in the technique and the quality of your cleaning supplies.

Now, let’s move on to the cleaning process.

Step-by-Step Cleaning Process

Let’s dive right into the step-by-step cleaning process to rid your kitchen walls of those stubborn grease stains.

  1. Assess the Stain Severity: Start by examining the grease stains. Are they fresh or have they been there for a while? Knowing the severity of the stains helps in determining the amount of effort you’ll need to put in and the kind of detergent choice to go for. If the stains aren’t too severe, a mild detergent should do. However, for tougher stains, you may need a heavy-duty grease-cutting detergent.
  2. Apply Your Detergent: Next, apply your chosen detergent to the stained area. Let it sit for a few minutes to penetrate the grease. This step is important as it softens the stain, making the scrubbing process easier.
  3. Use Proper Scrubbing Techniques: Start scrubbing gently with a soft sponge or cloth to avoid damaging the painted surface. If the stain persists, increase your scrubbing intensity gradually. Remember, it’s not about how hard you scrub, but how consistently you do it.

Keep in mind that some stains may require a couple of rounds of this process. With patience and the right technique, you’ll have your walls looking as good as new in no time.

Prevention and Maintenance Tips

Now that you know how to tackle those pesky grease stains, it’s equally important to learn how to prevent them from occurring in the first place and how to maintain your kitchen walls effectively.

Incorporating regular cleaning into your routine is the first step. Wiping your walls down at least once a week with a mild detergent can help prevent grease build-up. Remember to pay attention to areas around the stove and oven, where grease tends to accumulate.

Applying a protective coating is another great preventative measure. Consider using a washable paint or a clear sealant on your kitchen walls. This not only makes cleaning easier but also adds an extra layer of protection against grease stains.

How to Clean Marker Off Wall

Just like Michelangelo, your little one has discovered a love for art – only, their canvas is your living room wall. Now, you’re left wondering how to clean markers off the wall.

Don’t fret, it’s a common predicament and there’s a simple solution waiting for you. With just a few household items and a dash of patience, you can restore your wall to its former glory.

But, before we get to the ‘how’, it’s crucial to understand the ‘what’. Ready to decipher the mystery of marker types?

Identifying Marker Types

Before diving into the cleaning process, it’s crucial to identify the type of marker stain on your wall, as this will significantly influence the removal method. The ink composition varies between marker classifications, and this impacts how the ink bonds with surfaces.

You’ve got three main types of markers to consider: water-based, oil-based, and permanent. Water-based markers, like your typical washable kids’ markers, are the easiest to scrub off. They’re designed to be low-impact on surfaces, so a little soap and water usually does the trick.

Oil-based markers are a bit trickier. They contain pigments and dyes suspended in oil, which adheres more stubbornly to surfaces. It’s not impossible to clean, but it’ll require a bit more elbow grease.

Then you’ve got your permanent markers. Designed to be, well, permanent, these bad boys are the toughest to remove. The ink composition of these markers includes solvents that allow them to penetrate and bond with surfaces on a deeper level.

Gather Your Cleaning Supplies

Once you’ve determined the type of marker stain you’re dealing with, it’s time to gear up with the necessary cleaning supplies to tackle the job. Your supply selection should include items such as a soft cloth or sponge, mild detergent, baking soda, and rubbing alcohol or hand sanitizer.

It’s crucial to choose supplies that are effective, yet gentle enough not to damage your wall’s paint or wallpaper. For instance, baking soda is a fantastic, non-abrasive green alternative that can work wonders on stubborn marker stains. In contrast, rubbing alcohol or hand sanitizer can be more effective for permanent marker stains.

While you’re gathering your supplies, don’t forget to think about cost efficiency. You don’t need to break the bank to get your walls looking pristine again. Many of these items are likely already in your household, which saves you from making unnecessary purchases.

Step-by-Step Marker Removal Process

Now, let’s dive into the step-by-step process to erase those pesky marker stains from your wall. First, consider some removal precautions. Ensure your space is well-ventilated to avoid inhaling any fumes from cleaning products. Additionally, wear gloves to protect your skin.

  1. Stain Evaluation: Examine the stain. Is it a fresh mark or a stubborn, old stain? The age of the stain can determine the best removal method.
  2. Initial Cleaning: Start by wiping the stain with a damp cloth. If it’s a fresh stain, this might be enough.
  3. Intensive Cleaning: If the stain persists, apply a bit of your chosen wall cleaner. Gently scrub in a circular motion. Avoid excessive scrubbing as it might damage the paint.
  4. Rinse and Dry: After scrubbing, rinse the area with a clean, damp cloth. Then, dry the area thoroughly with a towel to prevent water stains.

As part of the post cleaning care, assess the wall. If the stain is still visible, you might need to repaint the area. Remember, patience is key when dealing with stubborn stains. You’ve got this!